If you know the network address of your printer it is very to install it through cups. If you don't have the network address try to ping it first or ask your network administrator.
Install hplib on your system, it should be included in the repository and it includes a very useful hp command line tool.
>> hp-makeuri yourip
This will give you a url like such:
hp:/net/HP_LaserJet_600_M602?ip=xx.xx.xx.xx
Go to cups and add a printer. Choose any of the protocal types and give in the above url. Voila! It is as simple as that!
Tuesday, 26 November 2013
Thursday, 21 November 2013
Installing OpenSuse 13.1 on Dell XPS13 Ultrabook
Following up on my original OpenSuse 12.3 installation on this fantastic laptop, I decided to perform a new install of the latest OpenSuse (13.1). As usual I kept my home partition and reformatted my /.
Everything works out of the box. Even (and finally) the multitouchpad. Full resolution even when my external screen is added. WiFi worked immediately. Also the screen brightness adjustment keys work (perhaps due to my fix that was still in place, see here).
Only pitfal so far: my webcam is not responding and cheese stays black. Will find a fix for that : ) I could use it in a google hangout yesterday though, don't know where this sudden lag comes from.
Follow fixes for the webcam here.
Wednesday, 17 July 2013
Installing Picasa 3.9 on OpenSuse Linux through Wine (and fixing google web logon)
I love using picasa from Google, as I miss the multiple select tool in Digicam. Altough facebook upload is still missing (I think at least), I wanted to reinstall picasa. Unfortunately, google discontinued the linux version, so I installed the latest version with wine.
1. Download picasa 3.9 (or latest version) for windows and open it with wine:
wine picasa39-setup.exe
2. This actually already works quite good, except for the google login features, which is quite essential if you want to share your pictures. To fix that, you need winetricks to install ie6. On OpenSuse, this is already included in Wine. If you have an older wine version, you might want to look for it separately.
3. Download msie60.exe, place it in /root/.cache/winetricks/ie6
4. If you have a 64 bit system, you need this extra tweeking step:
env WINEARCH=win32 WINEPREFIX=~/.google/picasa/3.0/ winetricks ie6
Otherwise, on 32 bit systems, just use winetricks ie6
Tuesday, 4 June 2013
Running graphical applications through ssh
I wanted to run Weka on our office's shared server, which is accessible by command line ssh.
I therefore used:
xhost +hostname
ssh -X hostname
Hopla, that's it!
I therefore used:
xhost +hostname
ssh -X hostname
Hopla, that's it!
Saturday, 1 June 2013
Fix for brightness adjust bug on Del XPS13 Ultrabook with OpenSuse Linux
After installing OpenSuse Linux on my new Dell XPS13 Ultrabook, as I read on a bug report here. I discovered that the brightness adjust controls did not work. See my full post on the installation here.
I was able to fix the brightness buttons by running this command as su (also works after reboot):
/bin/echo 0 > /sys/class/backlight/intel_backlight/brightness
I was able to fix the brightness buttons by running this command as su (also works after reboot):
/bin/echo 0 > /sys/class/backlight/intel_backlight/brightness
Thursday, 30 May 2013
Restoring multiple deleted files from dropbox
When I arrived at work this morning my university folder was empty. Oeps...
Apparantly some syncronisation error happened when I copied my files to my new laptop, and reorganised them. When I turned on my old laptop at home it the evening, it deleted everything from Dropbox.
Luckily, Dropbox maintains a history of your files so you can recover them up until a month ago (longer if you are a Pro user).
You can log into Dropbox.com and restore the files one by one. Unfortunately, this will take forever.
The solution. I found a script offered by Dropbox. One you install Greasemonkey plugin for Firefox or Tampermonkey for Chrome, you can just run this script: JSBox. It will give you the option to mass recover your files through the web interface!
This little script gives you some nice little options:
After installing the extension or logging in using the fake server, just browse your files as usual.
If you click this option, a new Modal box will open with a text box containing the contents of the file. Just make your modifications and click Save to submit the changes and automatically sync it with your all your computers.
You can click the link Open in new window to work in a new Window with the file.
Restore groups of files
Another useful missing feature for Dropbox is to restore groups of files when you accidentally delete them.
When you click your events page after installing this extension (or on the fake server), you will see a special link next to the deleted events feeds:
Just click this link and in a few seconds, all the files deleted on this event will be restored.
Source: http://www.dropboxwiki.com/JSBox
I just ctrl-A selected all the folders, right click, restore. That saved my day today!
Tuesday, 28 May 2013
Installing OpenSuse 12.3 on the new Dell XPS13 Ultrabook
Check out the install for OpenSuse 13.1 here.
I just got the Dell XPS13 Ultrabook. It looks amazing... It feels very sturdy with the Aluminium exterior and is just very cool.

Just a short sidenote about the XPS13 before I go into installation details... When I turned it on I noticed an extremely irritating high-pitched sound that would not go away. It varied a little bit every second. I tried all possible things to find the error (turn off wifi, switch to other screen etc). Nothing helped. So I sent it back to Dell and they changed the motherboard and the fan. It came back yesterday and I was all exited... only to still hear this noise... I read around on the internet and it must be a design thing, perhaps an electrical wire that is not properly insulated. Now, I must admit, I have extremely sensitive ears so that might contribute. Also, woman's ears are able to hear higher pitched sounds then men, so perhaps the designers or technicians did not hear it. Still... it immediately cought my attention. Anyway, I have am trying the laptop now, and I must admit, seeing it without that horrible windows makes me feel alot better about it.
UPDATE: after installing Linux and peforming the BIOS system stress test the hight-pitch sound went away... thank god!
I created a bootable USB stick from the OpenSuse website, with version 12.3, 64-bit on it. Now my colleage told me that despite my love for OpenSuse, I might consider installing Ubuntu on it, since it has a dedicated release for this laptop. Well, after considering that for about 5 minutes, I put my USB stick with OpenSuse in the XPS13 and rebooted. Press F12 on startup to access USB booting.
How to install OpenSuse:
- Choose install
- Follow the instructions: be sure to completely erase any windows partition.
- I choose and ext4 filesystem, which is the default option and added some extra software for development.
- Wait a moment
- Done

Now how well does it work?
- Network (incl WiFi) functions without extra configuration.
- Power button gives the logout/power off menu, which is fine for me.
- Suspend seems to work properly.
- Second screen with KRandR works fine.
Only issue I could find so far is that the Brightness adjust does not work (see this bug report). I will implement a fix in the coming days, and will post it here, so be sure to come back!
UPDATE: I was able to fix the brightness buttons by running this command as su (also works after reboot):
/bin/echo 0 > /sys/class/backlight/intel_backlight/brightness
Sunday, 26 May 2013
Cool effects with Fujifilm X10 firmware 2.0 update
I just update the firmware of my Fuji X10 camera and discovered some awesome built in advanced effects!
If you go the the advanced menu (rotating button on the top Adv.), you get select the new filters. I just took some very quick snapshots (it's about midnight so the room was dark). To get an idea of the new filters.
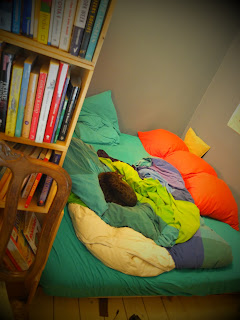
Miniature - creates top and bottom blur for diorama effect:

Toy camera - creates shaded borders as taken by toycameras:
Dynamic tone - creates a fanatasy effect by dynamically-modulated tone reproduction:

Partial color:


Other effects include:
- POP color: empasises contrast and color saturation
- high-key: enhances brightness and reduces contrast for lightenig tone reproduction
Second new feature in the second version of Fuji X10's firmware is the Quick Menu, already available on the X-Pro-1. Press the raw button for a bunch of usefull shortcuts:

Get full instructions on how to upgrade your Fuji X10 camera's firmware here. It's really easy. Basically, you just download the .dat file and place in on a formatted SD card. Then you turn on the camera while you are holding the back-button.
Have fun!
If you go the the advanced menu (rotating button on the top Adv.), you get select the new filters. I just took some very quick snapshots (it's about midnight so the room was dark). To get an idea of the new filters.
Miniature - creates top and bottom blur for diorama effect:
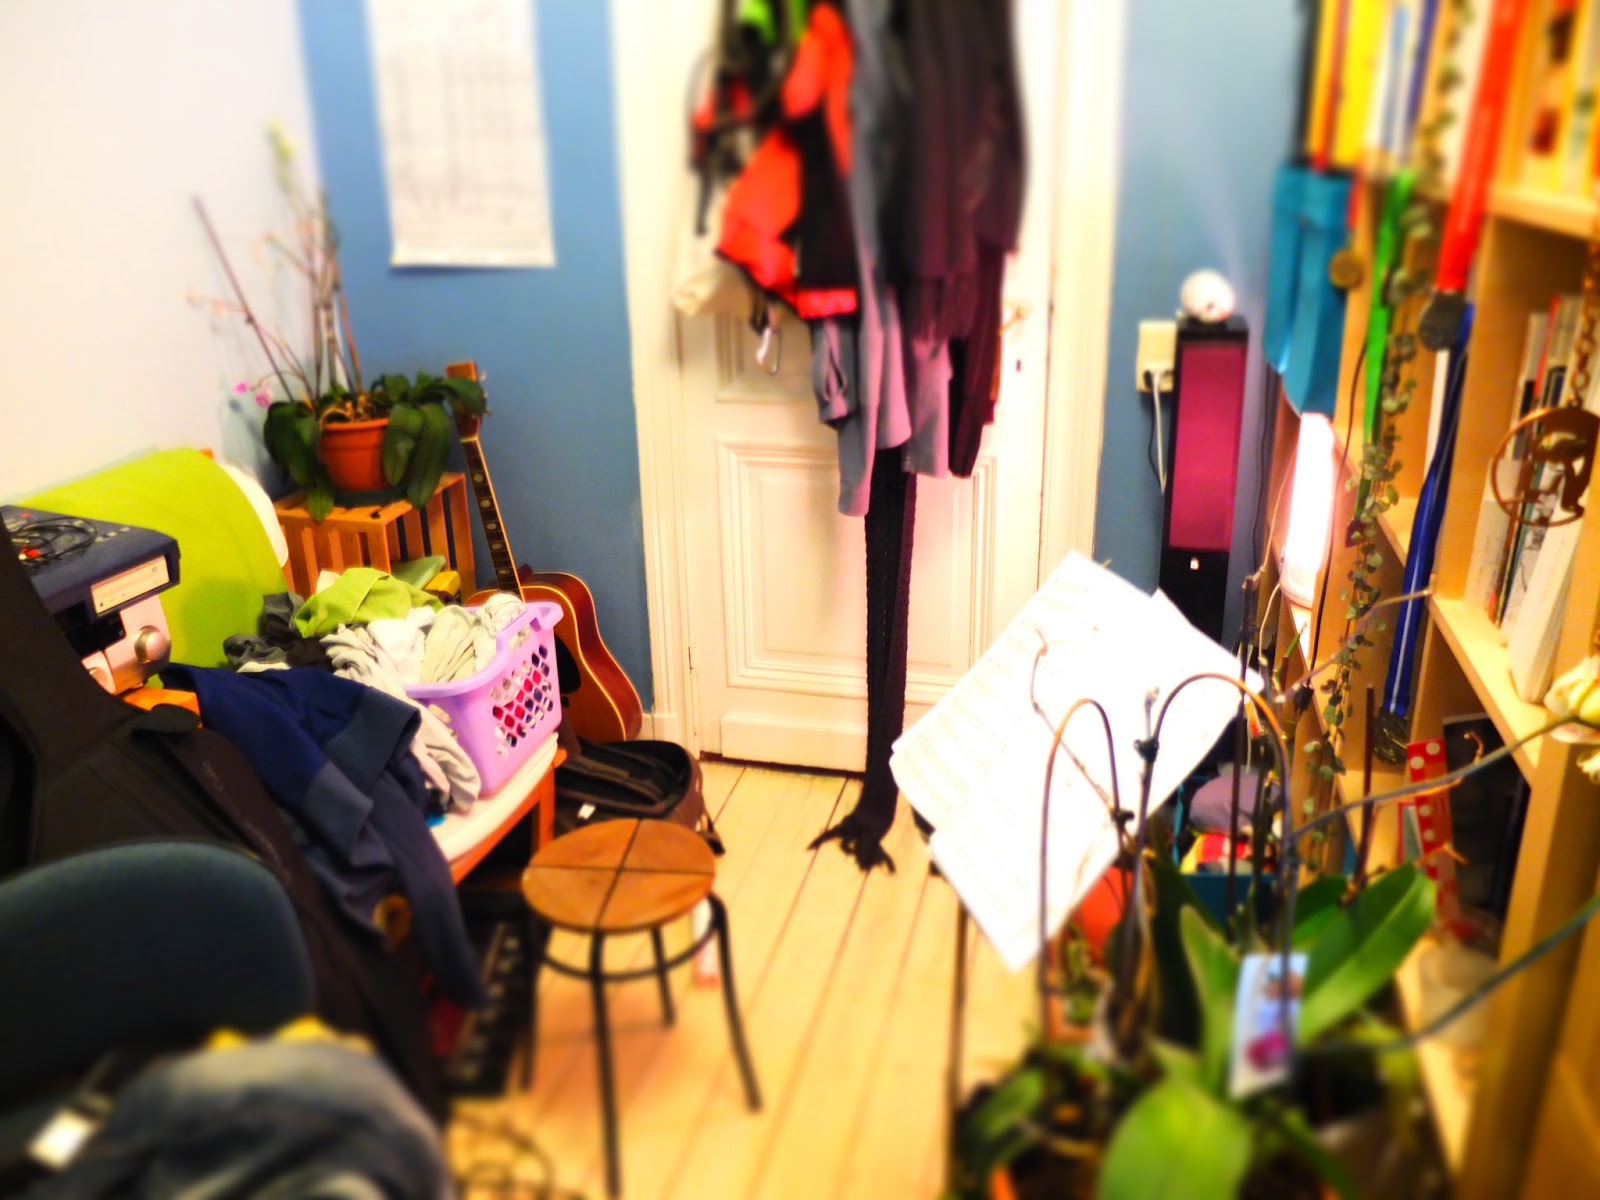
Toy camera - creates shaded borders as taken by toycameras:

Dynamic tone - creates a fanatasy effect by dynamically-modulated tone reproduction:

Partial color:


Other effects include:
- POP color: empasises contrast and color saturation
- high-key: enhances brightness and reduces contrast for lightenig tone reproduction
Second new feature in the second version of Fuji X10's firmware is the Quick Menu, already available on the X-Pro-1. Press the raw button for a bunch of usefull shortcuts:
Get full instructions on how to upgrade your Fuji X10 camera's firmware here. It's really easy. Basically, you just download the .dat file and place in on a formatted SD card. Then you turn on the camera while you are holding the back-button.
Have fun!
Thursday, 21 February 2013
Subscribe to:
Posts (Atom)